 ContinuumEdge Mobile Application Configuration (Windows) ContinuumEdge Mobile Application Configuration (Windows)
|
FAQs | Feedback
|
The process for ContinuumEdge Mobile Application Configuration is outlined below:
Step
|
Action
|
1
|
Download the ContinuumEdge CCMS Mobile Application from the Windows App Store.

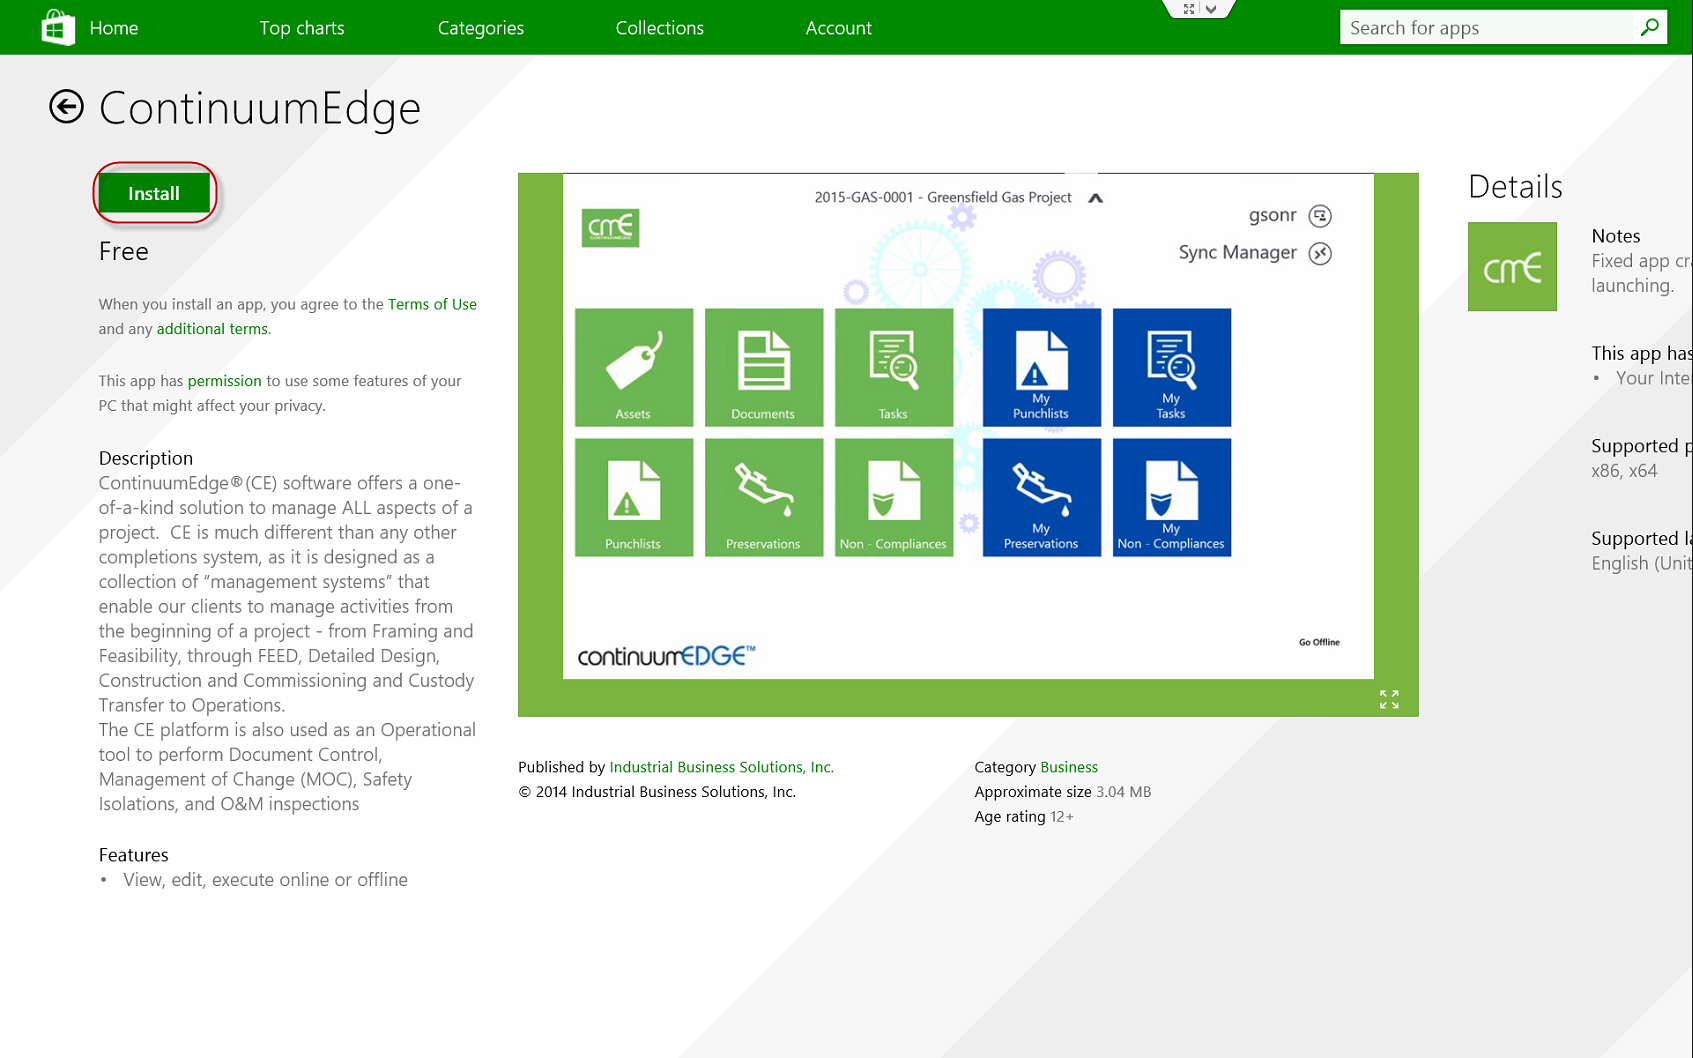
Configure Application Settings.
|
2
|
Configure Application Settings.
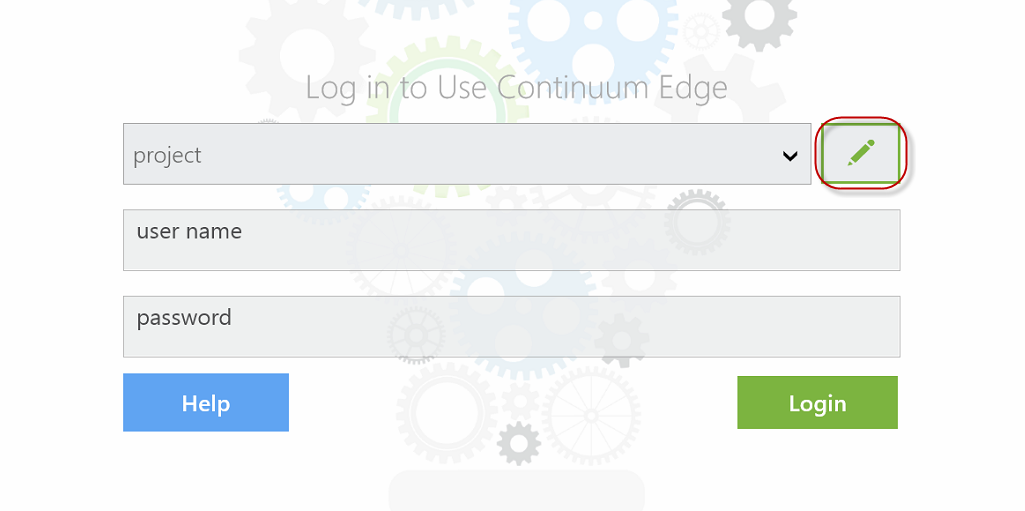
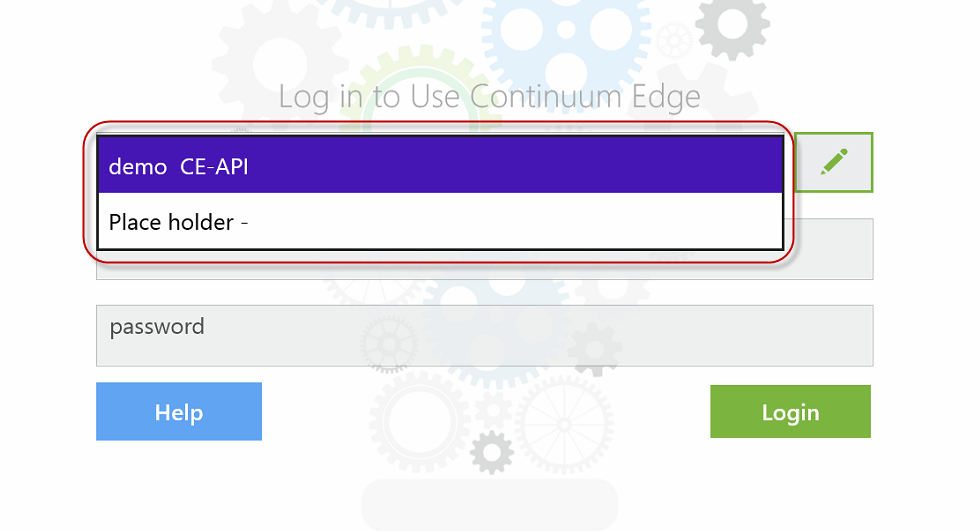
Note: In order to configure the ContinuumEdge CCMS Mobile Application you must know the URL of your CE site (e.g. http://demo.ibs-cloud.com).
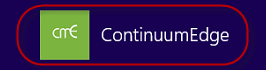
- Select the Application from your Windows Tablet ‘Home’ screen to open.
- To setup your CE site on the mobile application select the notepad icon on the Login page.
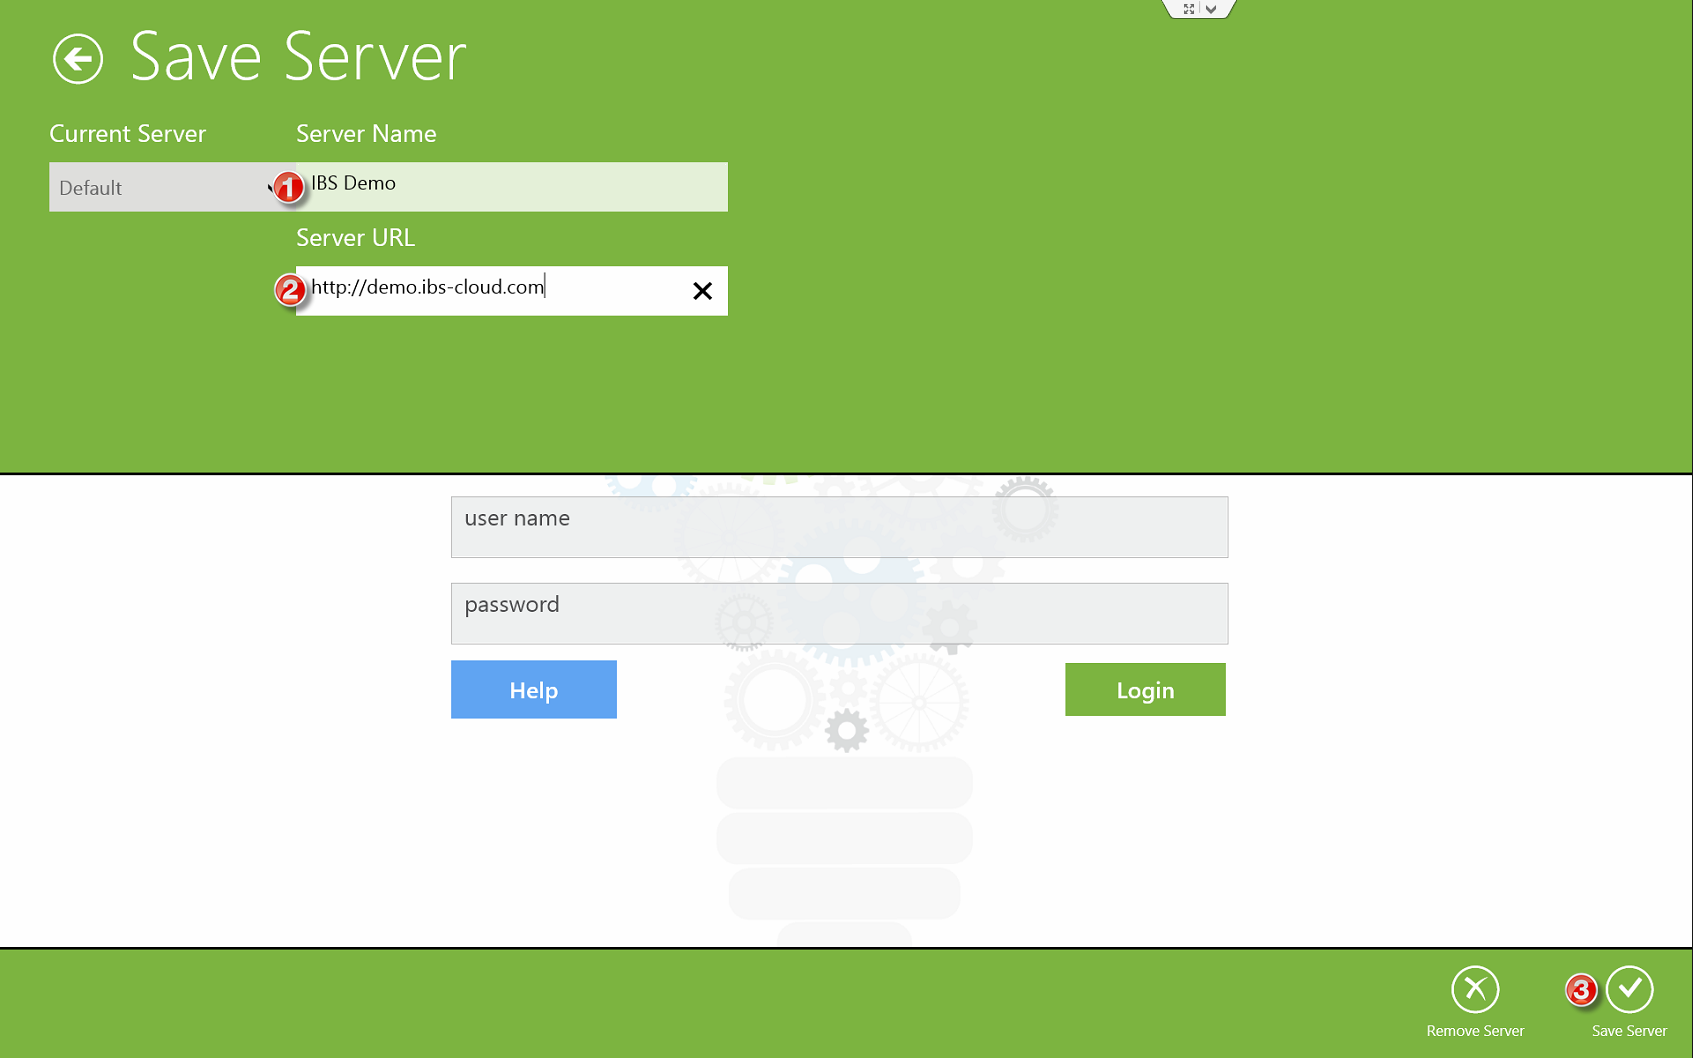
- Add Server:
- Server Configuration Name – ‘default’ is displayed but the name can be changed.
- Enter Project URL – http://demo.ibs-cloud.com/
Notes:
- Your CE site may be ‘http’ or ‘https’ this will need to be entered correctly. If you are unsure, please contact your CE Administrator.
- Your URL must have a ‘/’ at the end as shown above.
- Save Changes.
Login.
|
3
|
Login.
- The site dropdown will be populated with your CE site.
Note: If you have multiple sites (e.g. production & test), select the site dropdown field. This will expand the dropdown and show you all available sites. Select the site you wish to login to.
- Enter Username and Password.
- Select Login button.
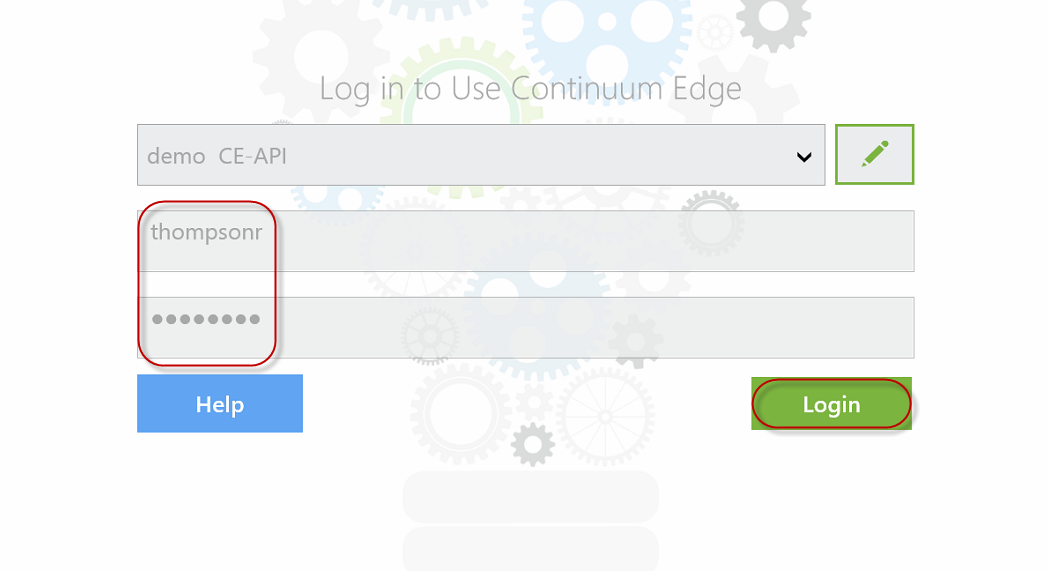
- The CCMS Mobile Application Homepage is loaded.
Sync Mobile Application.
|
4
|
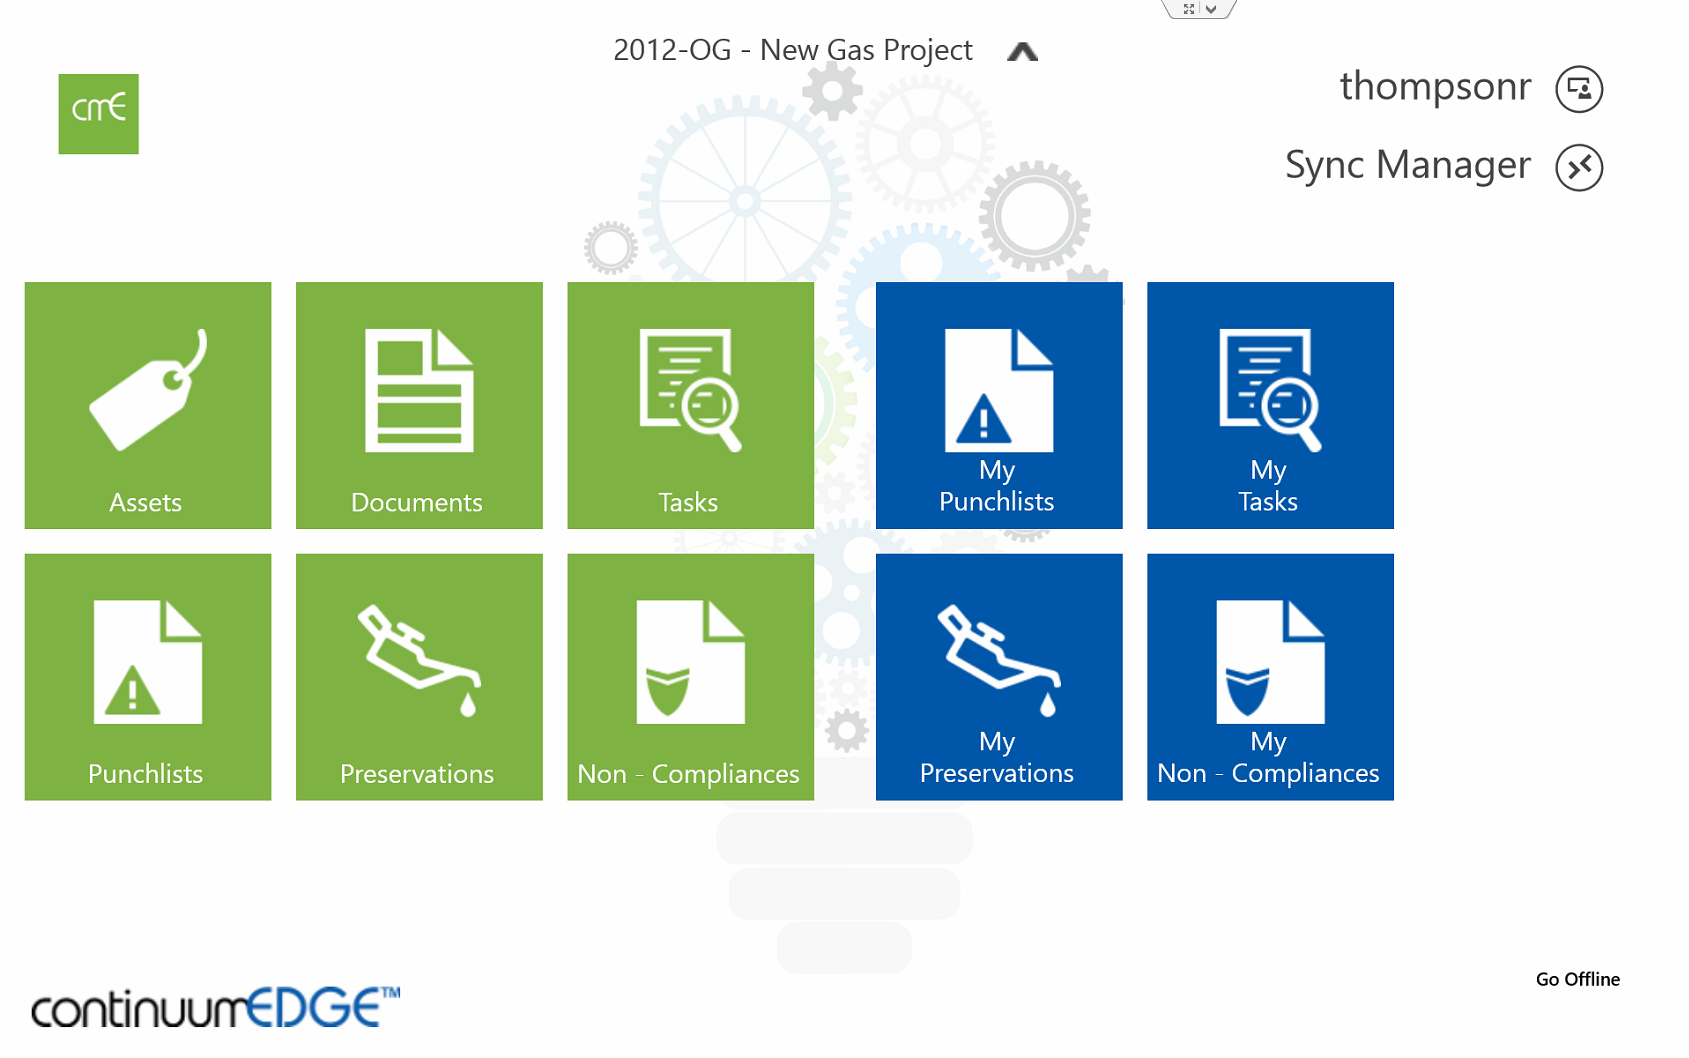
Sync Mobile Application with CE database.
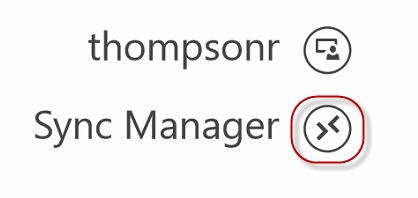
- Select the Sync Manager icon from the Mobile Application Homepage.
- The Mobile Application will sync with your CE database.
Note: Once the sync is complete the ‘Sync Progress’ window will close.
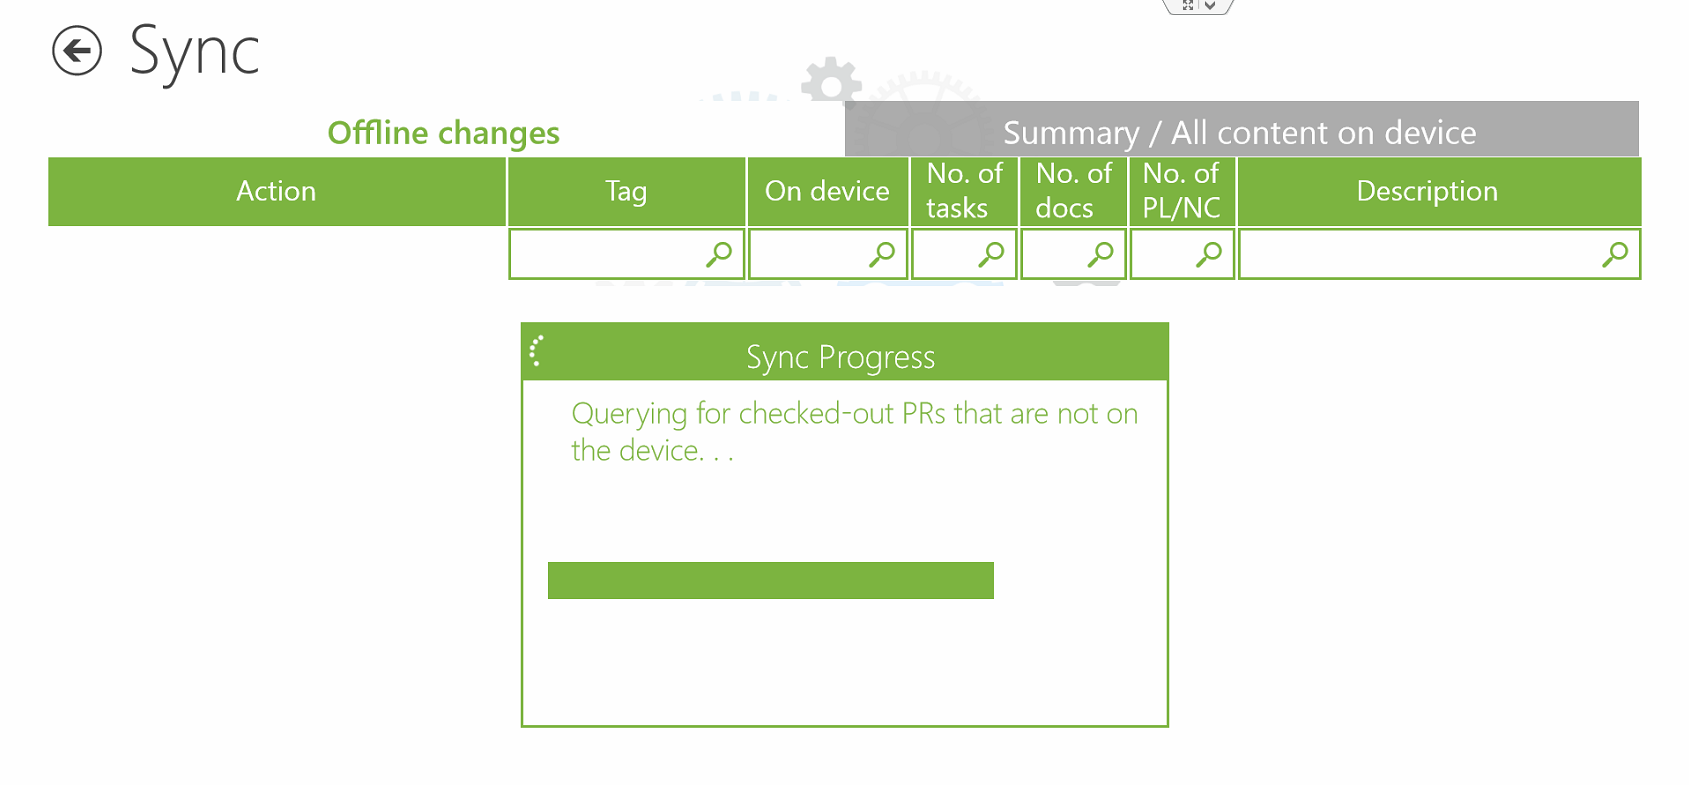
- Select the ‘Back’ button to return to the Mobile Application Homepage.

- The Mobile Application is now ready for use.
Next Training: ContinuumEdge Mobile Application Use
|
|
For internal use only

|