|
FAQs | Feedback |
The process for the ContinuumEdge File Upload Utility Installation is outlined below:
Step |
Action |
1 |
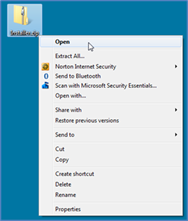
This process requires the ContinuumEdge File Upload Utility zip file, supplied by the CCMS Manager / Administrator. Lodge a request with the CCMS Manager / Administrator if this file has not been supplied. This process is only applicable to personnel responsible for scanning completed FIC and ITR forms (primarily Document Control staff). Copy the installer.zip file onto the PC desktop, right-click on the icon and select Open.
Extract Zipped Files. |
2 |
Extract the files in the Winzip folder onto the PC desktop.
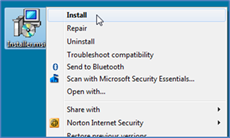
Install from the Installer.msi File. |
3 |
Right-click on the Installer.msi icon and select Install.
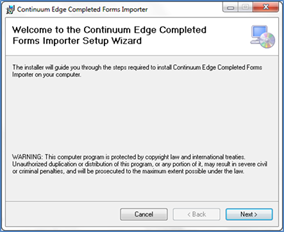
CE Completed Forms Importer Setup Wizard. |
4 |
Click Next to install the application.
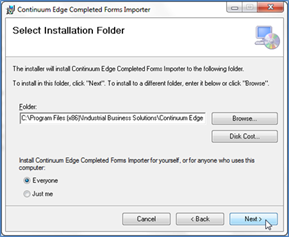
Installation Location. |
5 |
A default installation folder is displayed. Select Everyone and click Next.
Confirm Installation. |
6 |
Click Next to confirm the installation. NOTE: The installation will take place, with the install status shown on a progress bar.
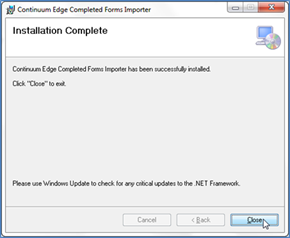
Installation Complete. |
7 |
Complete the installation by clicking on the Close button.
Next Training: ContinuumEdge File Upload Utility - QRCode Scanner/Importer |
For internal use only
|