|
FAQs | Feedback |
Importing loop assets (or devices) can be done once the loop list has already been imported. CE will require this otherwise it would not know which loop to attach the device to. We would also recommend that the all the child devices (asset tags) are already imported, and the “Import Loop Assets” import is only used to “Link” the asset tags to the loop.
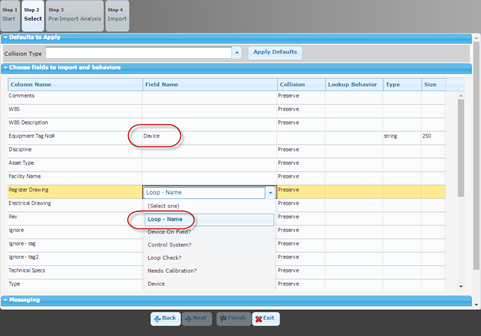
This particular import is very simple as it has two (2) basic fields to map:
Important Notes:
The process for importing Loop Assets is outlined below:
Step |
Action |
1 |
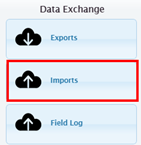
Switchboard Navigation: Configuration > Data Exchange > Imports
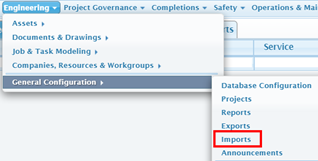
Menu Navigation: Engineering > General Configuration > Imports
Import Wizard Button. |
2 |
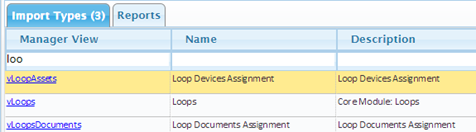
Select IMPORT TYPE view to import against (do not select hyperlink). The Import Type for importing a Loop List is named Loop Device Assignment.
Press IMPORT WIZARD.
Import Edit Form - Browse to File. |
3 |
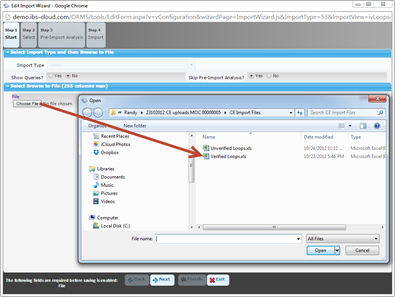
Select CHOOSE FILE to browse and select a file (.xls) file to upload into the CE database. Browse to the XLS file just as if you were attaching an image to a document, it is the same concept.
After mapping the fields, the import tool will perform a “Pre-Import” validation process, where it will present the what the results will be prior to committing to the import. This is an important feature as it will allow a user to cancel the import as they identified issues if they had proceeded directly with the import.
Press NEXT to map fields. Import Edit Form - Map Fields. |
4 |
The user is required to align fields of the excel sheets to the specified module being imported into.
Import Edit Form - Set Collision Behavior. |
5 |
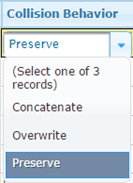
NOTE: The collision behavior is designed to set the business rules for the instance where data already exists in the database. If a record finds a perfect match against the NAME field, then it will apply a collision behavior, where:
Pre-Import Analysis. |
6 |
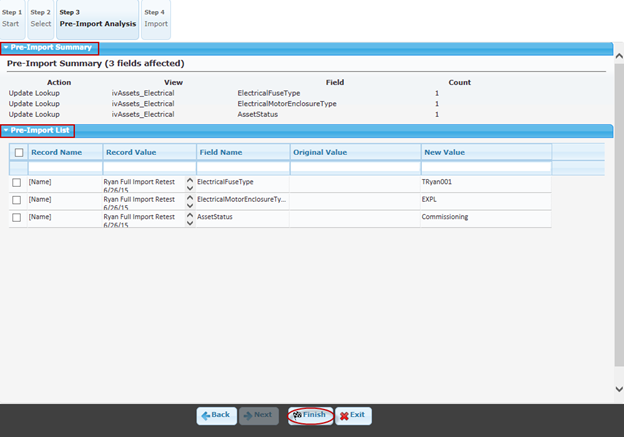
The final step of the import is to review the Pre-Import Analysis. The user can get a quick synopsis of the data that will be imported. The 'Pre-Import Analysis' allows a user to look at the the data to be imported and identify any potential issues before any data is imported into the database. The 'Pre-Import Analysis' is broken into 2 sections: Pre-Import Summary: This section shows a summary of the fields affected in the import.
Pre-Import List: This section shows a list of the fields affected in the import.
Select the Next button to view the 'Pre-Import Analysis'.
Note: If the user finds errors in the 'Pre-Import Analysis' they can close the Import Wizard, make the necessary changes to their data and then repeat the process up until this point. If the data is correct the user can then finish the Import. Press the Finish button to import the data. Import Log. |
7 |
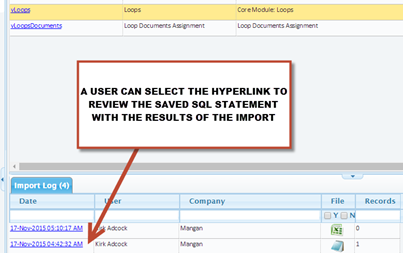
READING THE IMPORT LOG (results): Each import will be summarized in the import log. Each “affected row” message is for each column in the .xls file.
Next Training: View Import Log |
CONFIDENTIAL - Licensed Users Only
|