|
FAQs | Feedback |
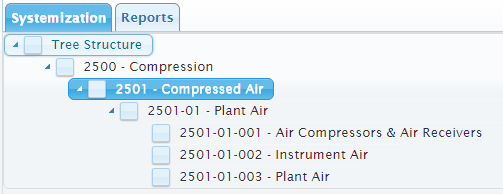
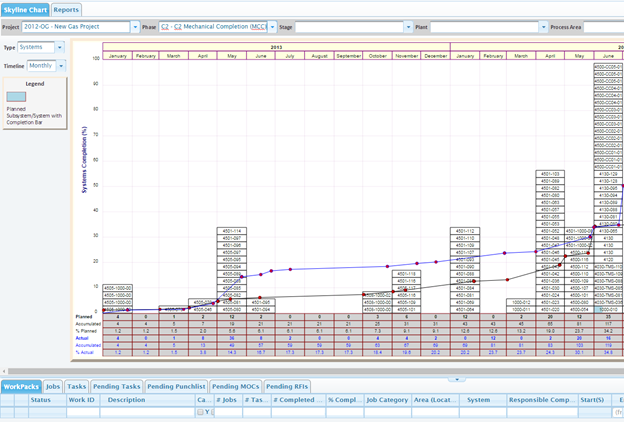
Importing Systemization Skyline will create the systems and/or subsystem boxes with their targeted handover dates from Phase and/or Stage. The purpose of the CCMS Skyline Dashboard is to display the systems and/or subsystems planned custody transfer date at any Phase or Stage of a project. For larger, more complex projects, that has established custody transfer dates for each subsystem at each Stage of a project will require that the skyline is imported by subsystem and stage.
This training will demonstrate how a subsystems can be assigned a phase custody transfer date for the Mechanical Completion Phase.
When importing the systemization Skyline, the following items must already exist:
It is important the systemization XLS file have the following columns:

Important Notes:
The process for importing Systemization Skyline is outlined below:
Step |
Action |
1 |
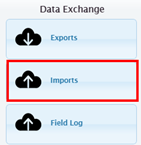
Switchboard Navigation: Configuration > Data Exchange > Imports
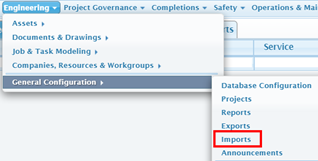
Menu Navigation: Engineering > General Configuration > Imports
Import Wizard Button. |
2 |
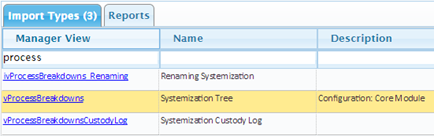
Select IMPORT TYPE view to import against (do not select hyperlink). The Import Type for importing a PCT list is named Project Control Tasks
Import Edit Form - Browse to File. |
3 |
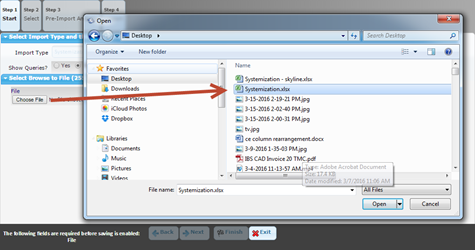
Select CHOOSE FILE to browse and select a file (.xls) file to upload into the CE database. Browse to the XLS file just as if you were attaching an image to a document, it is the same concept.
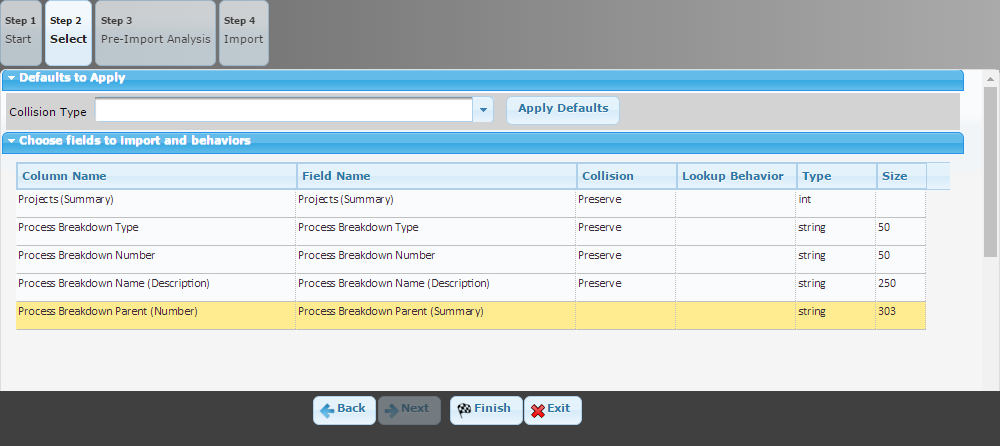
After mapping the fields, the import tool will perform a “Pre-Import” validation process, where it will present the what the results will be prior to committing to the import. This is an important feature as it will allow a user to cancel the import as they identified issues if they had proceeded directly with the import.
Press NEXT to map fields. Import Edit Form - Map Fields (First Import). |
4 |
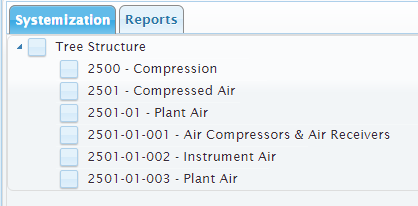
The FIRST IMPORT will focus on importing the list of Process Breakdown nodes. The fields that MUST to be mapped are:
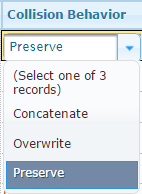
NOTE: The collision behavior is designed to set the business rules for the instance where data already exists in the database. If a record finds a perfect match against the NAME field, then it will apply a collision behavior, where:
Press FINISH to process the XLS file into the database.
Important Notes:
After importing the list of nodes, you can confirm by reviewing the number of INSERTS it created in the database.
Import Edit Form - Map Fields (Second Import). |
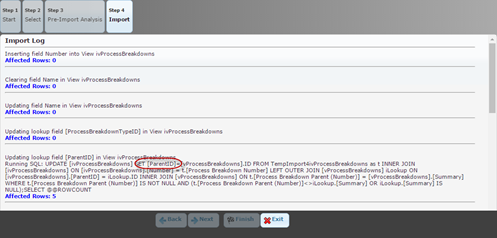
5 |
The SECOND IMPORT will focus on creating the parent – child relationships between the systemization nodes. Follow the same actions as defined in Step 4. CE will require the same mapping as the first import.:
Important Notes:
Import Log. |
6 |
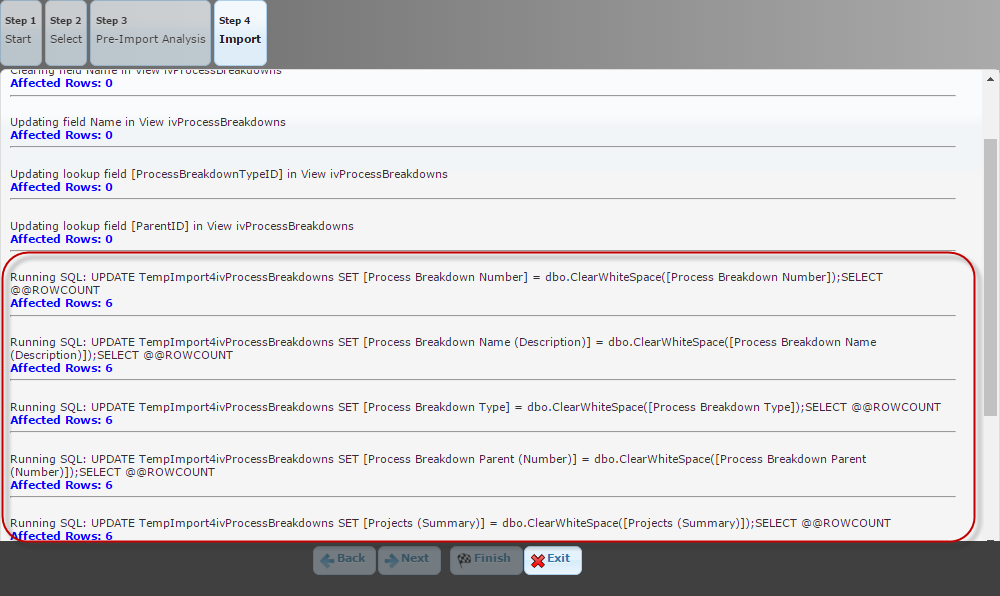
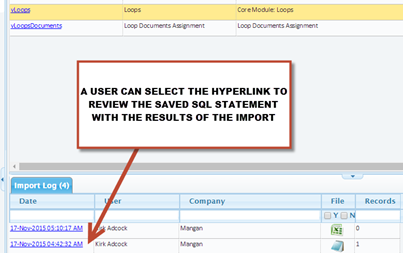
READING THE IMPORT LOG (results): Each import will be summarized in the import log. Select the blue Hyperlink to load the results from any import against this import view. A user can also select the XLS icon to load the file that was processed.
After importing the PCT list a user will see the PCT list created and if completion details (actual end date) is entered it will automatically assign the PCT a completion status. If a user did not put in “completed by” in the XLS it will insert the name of the person importing the XLS file.
Next Training: View Import Log |
CONFIDENTIAL - Licensed Users Only
|