You must fill out File Information, including selecting recipient(s) before Uploading the File and Emailing a notice out.
In order to share a file with another system user, start by creating a new record, filling out the information and uploading the file. Lastly, email a notice to your recipients.
Step |
Action |
1 |
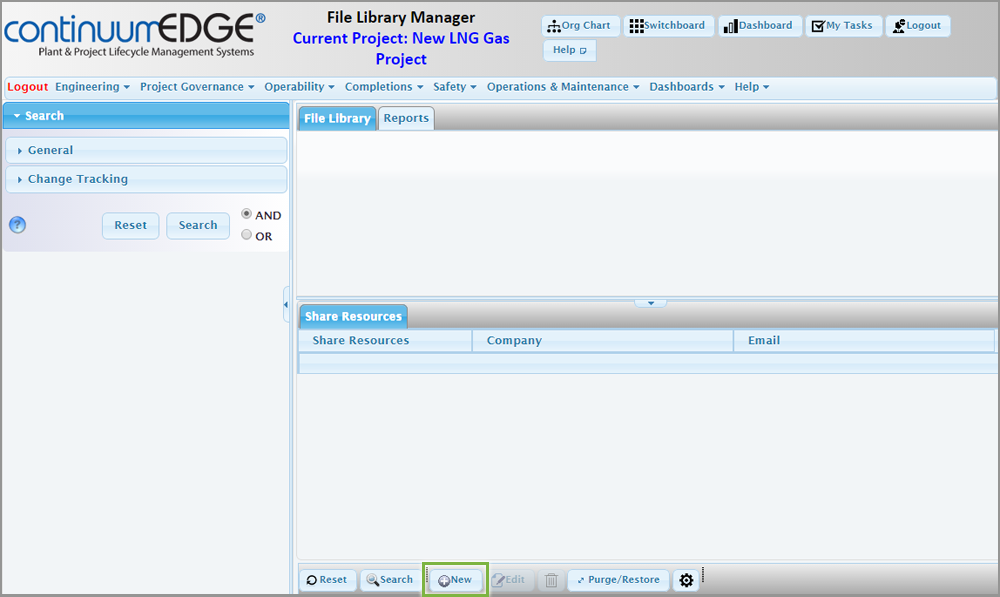
From the File Library Manager, look to the bottom of the age and click the New button.
An Edit File Library (New Record) pop-up window opens. |
2 |
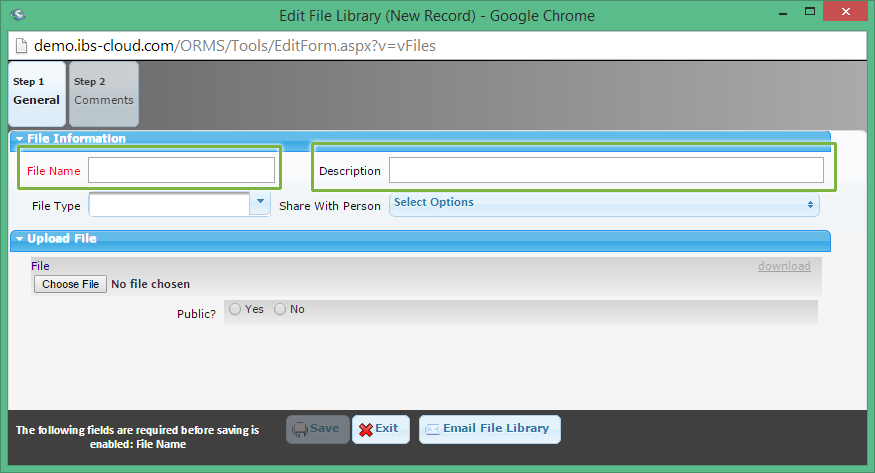
Under File Information, notice File Name is in red. This is a required field. Type in File Name with an appropriate and easily recognizable name. Next, type in Description. This will tell your recipients what type of files they are receiving, and reason(s) for the correspondence.
Choose File Type. |
3 |
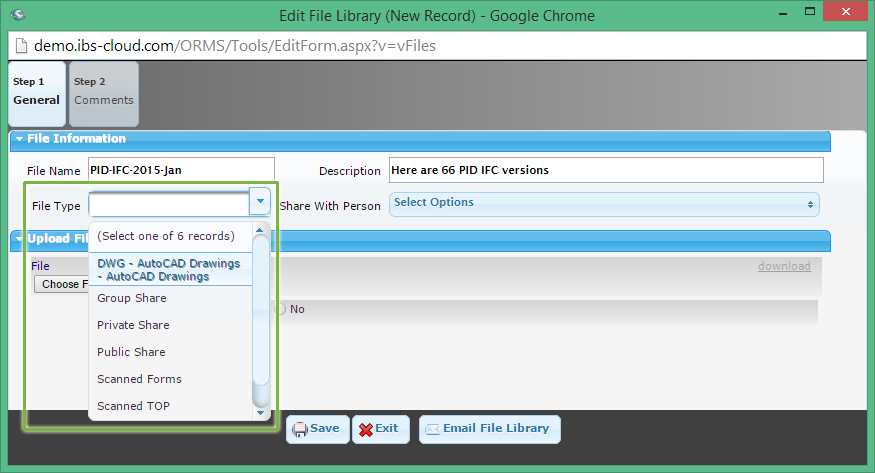
Click on File Type. A dropdown appears. Choose a file type.
Share File. |
4 |
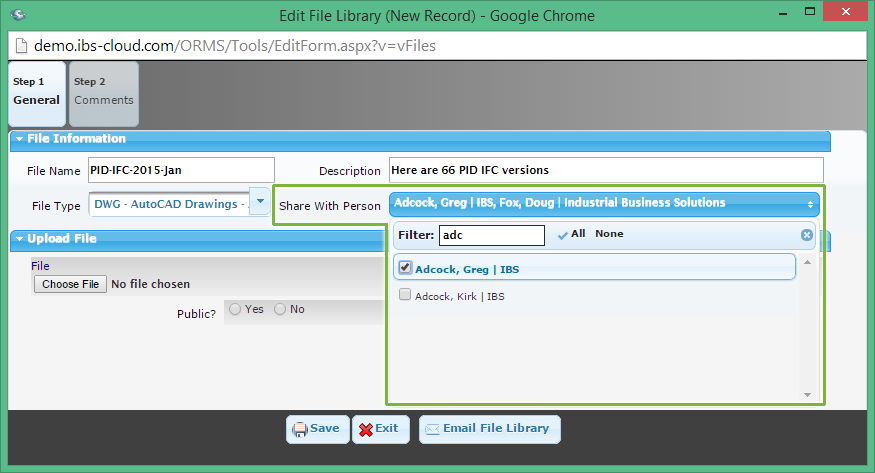
Under Share With Person, click in the Filter text box and type the first 3 letters of your recipients last name. The system matches your query. Select the checkbox next to the appropriate name. Repeat for additional recipients. All selected names appear on the top blue bar.
|
5 |
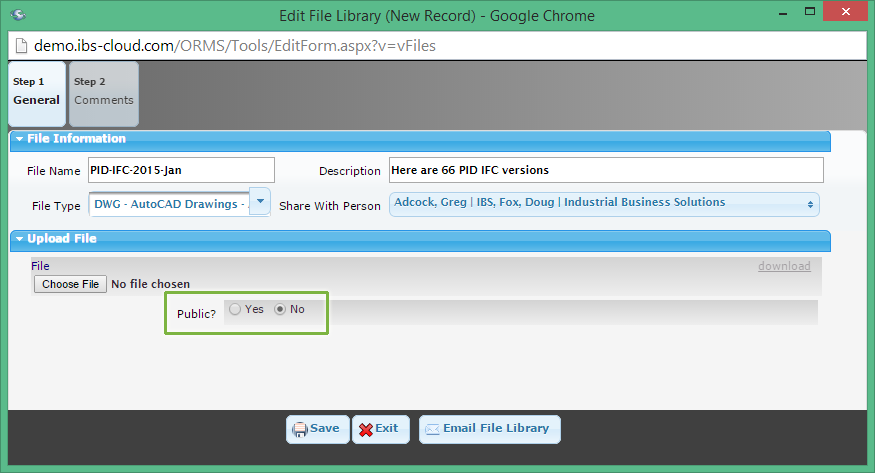
Under Upload File, choose whether you want the file you are sending to be viewed Publically or Privately using Public? radio buttons. Choosing 'Yes' means that anyone with access to the File Library can download the file. Selecting 'No' makes the file private (file icon is greyed out) and only your chosen recipients can download the file from the Library.
Select one of the Public? radio buttons, Yes or No.
Upload File. |
6 |
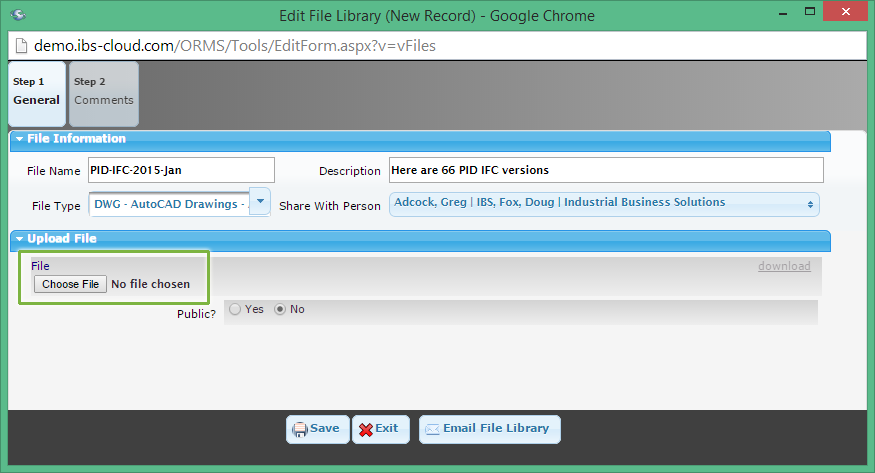
Let's upload the actual file. Under File, click Choose File.
A window opens, allowing you to choose a file from your computer. Select the file and press Open.
To do so, make sure all the files are in one folder, right click on the folder name, click on Send to, then choose Compressed (zipped) folder.
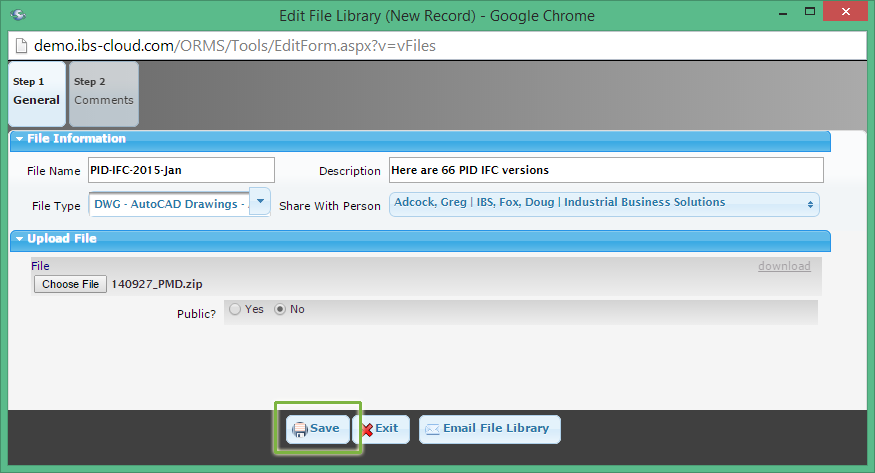
The name of the uploaded file appears next to the Choose File button. |
7 |
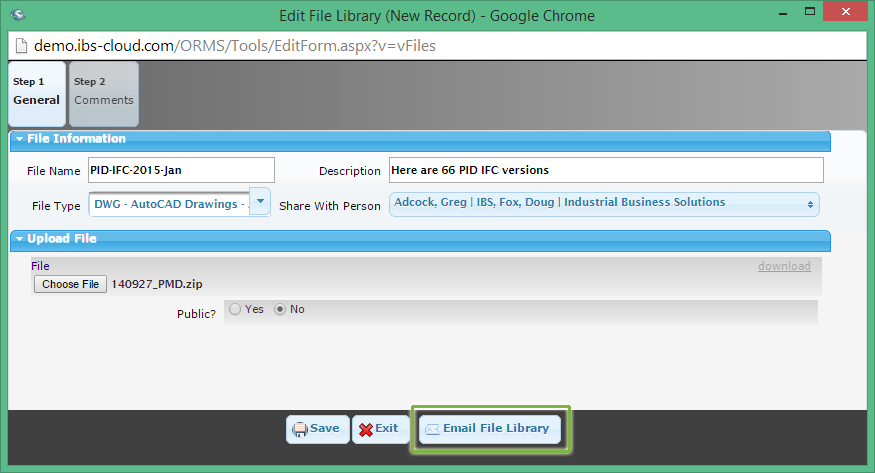
Make sure to save your work. Press Save.
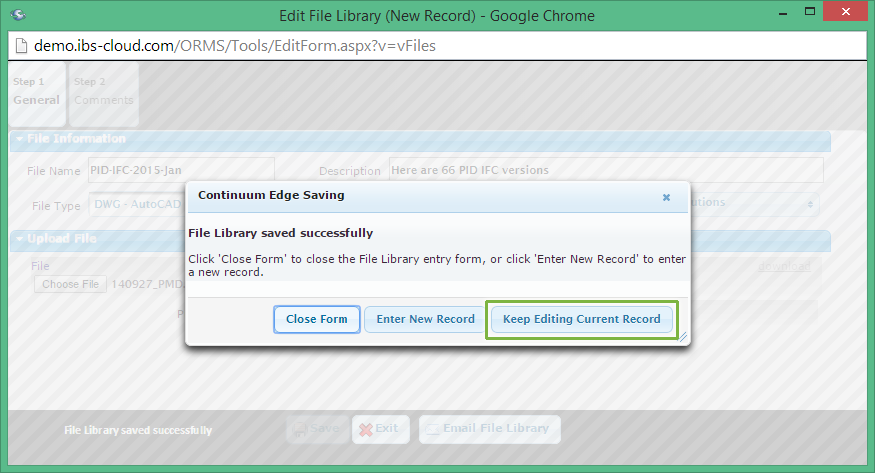
A dialogue box opens. Click Keep Editing Current Record.
Email your recipient(s). |
8 |
You are now ready to Email your recipient(s). Click on Email File Library.
The E-Mail Notification window opens. |
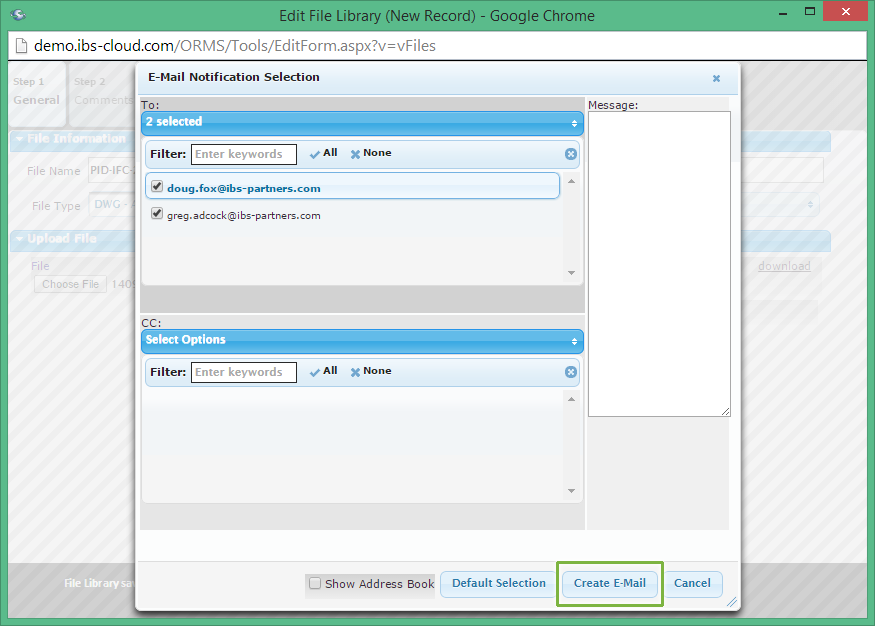
9 |
The people you selected in the Share With Person section are automatically listed in the To: field. If you would like to add more recipients, do so by typing the first three(3) letters of his/her last name and checking the box next to the name. You can also add people to receive a carbon copy (CC) of the email in the lower section of the window. When you have selected all the appropriate recipients of your file, click Create E-Mail.
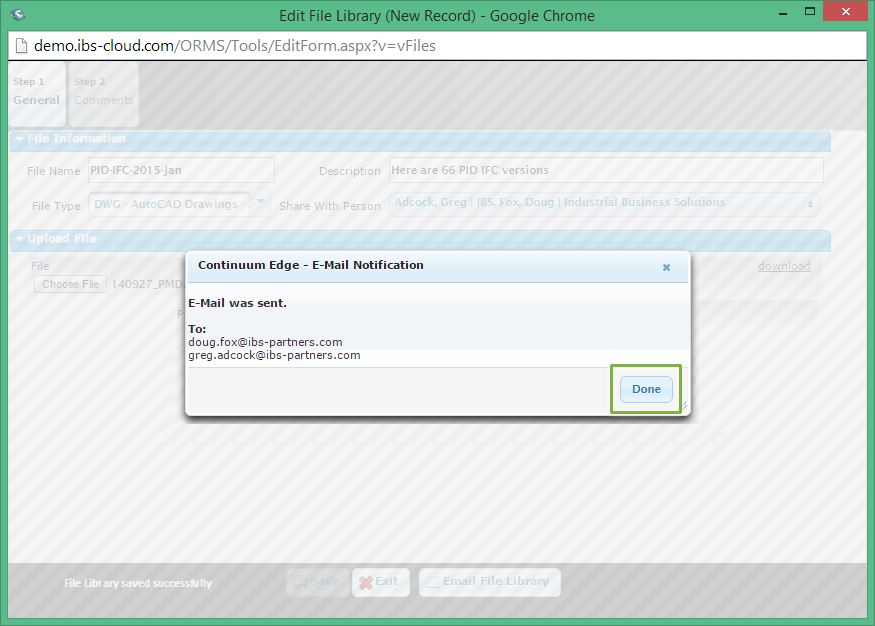
A confirmation box opens, listing the addresses the email was sent to. Click Done.
Next Training: Receiving File Sharing Emails |
For internal use only |